Token Launch Checklist: From Setup to Public Launch
Use a practical launch checklist covering token identity, supply, permissions, liquidity planning, verification and public information.
 DegenKitOctober 17, 2026 · 5 min read
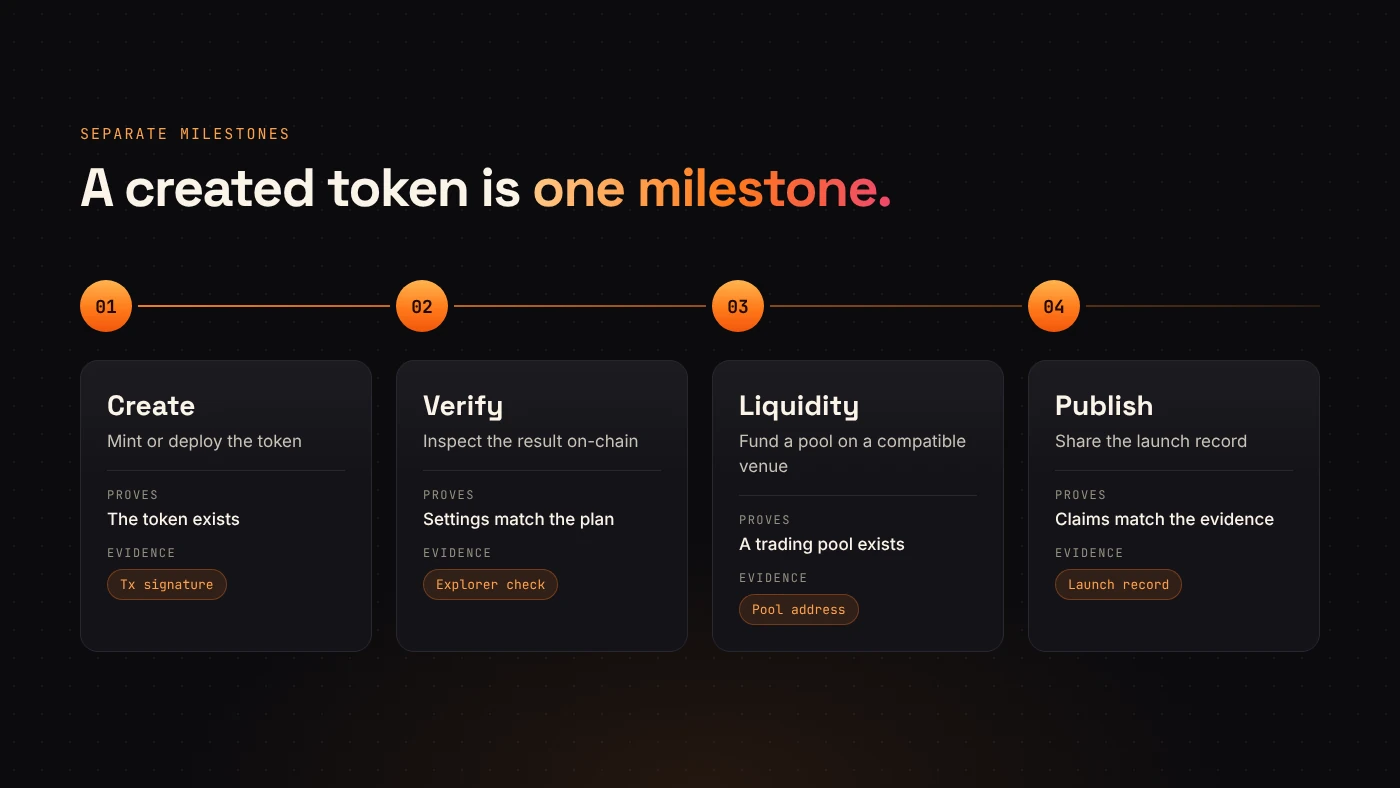
A token can be created before a project is ready to introduce it publicly. The transaction is one milestone. A useful launch also needs clear information, reviewed permissions and a plan for whatever happens next.
Use this checklist before opening a launcher, again before signing, and once more before publishing the token address. It works as a preparation guide alongside DegenKit's network-specific forms.
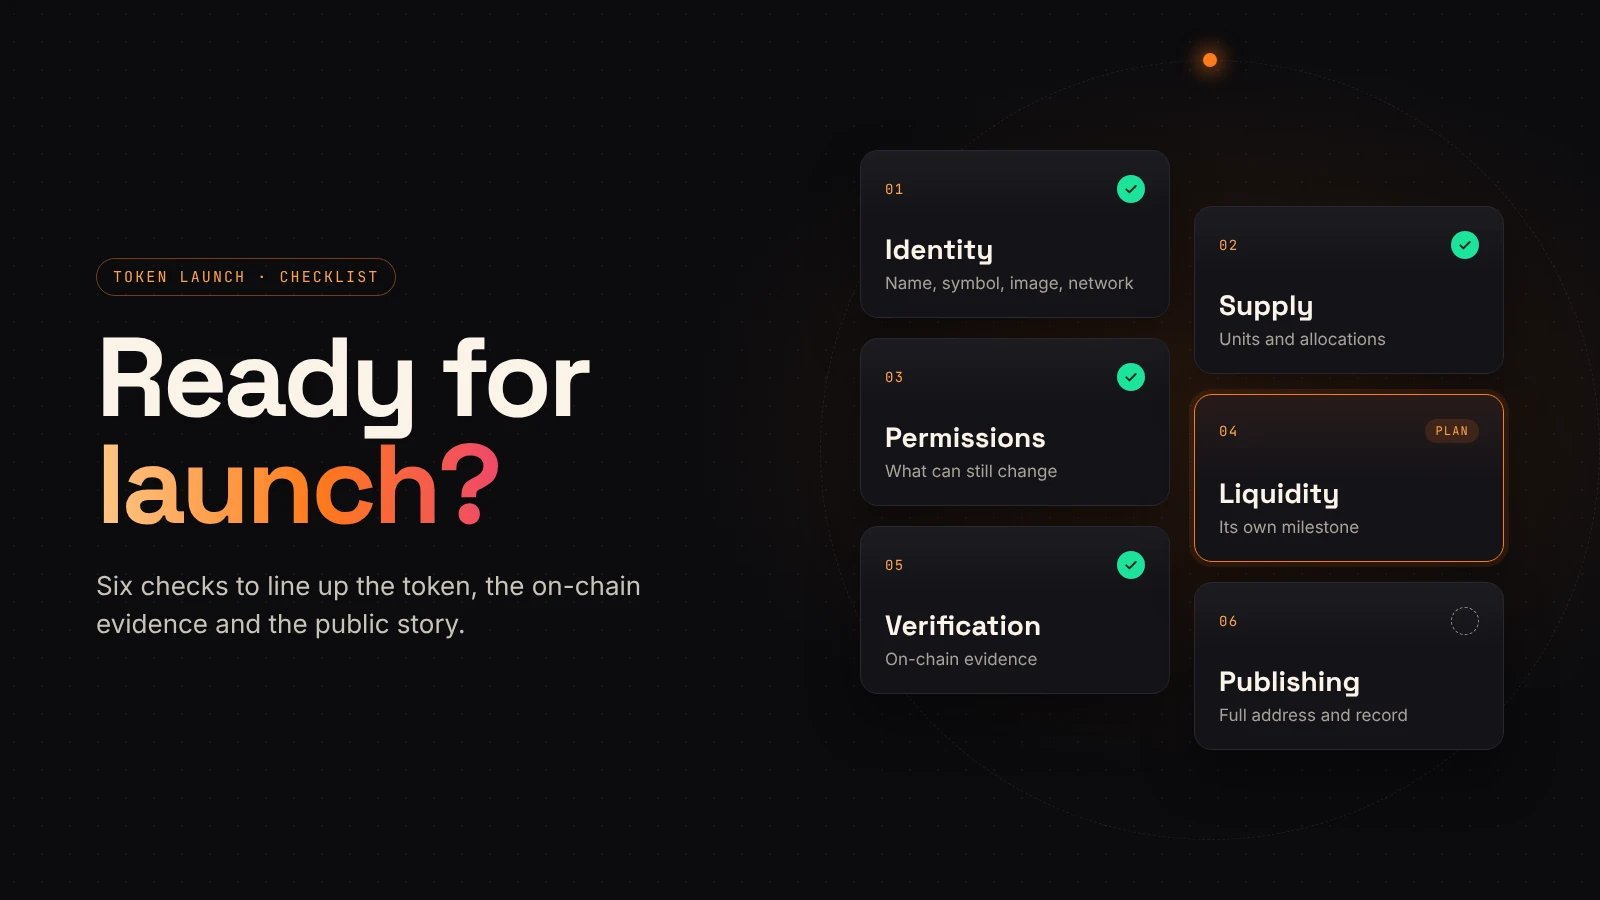
1. Make the token identity consistent
Put the intended name, symbol, image, description and official links in one short launch record. Have someone compare that record with the final form. Similar-looking tickers and copied images can make a rushed review unreliable.
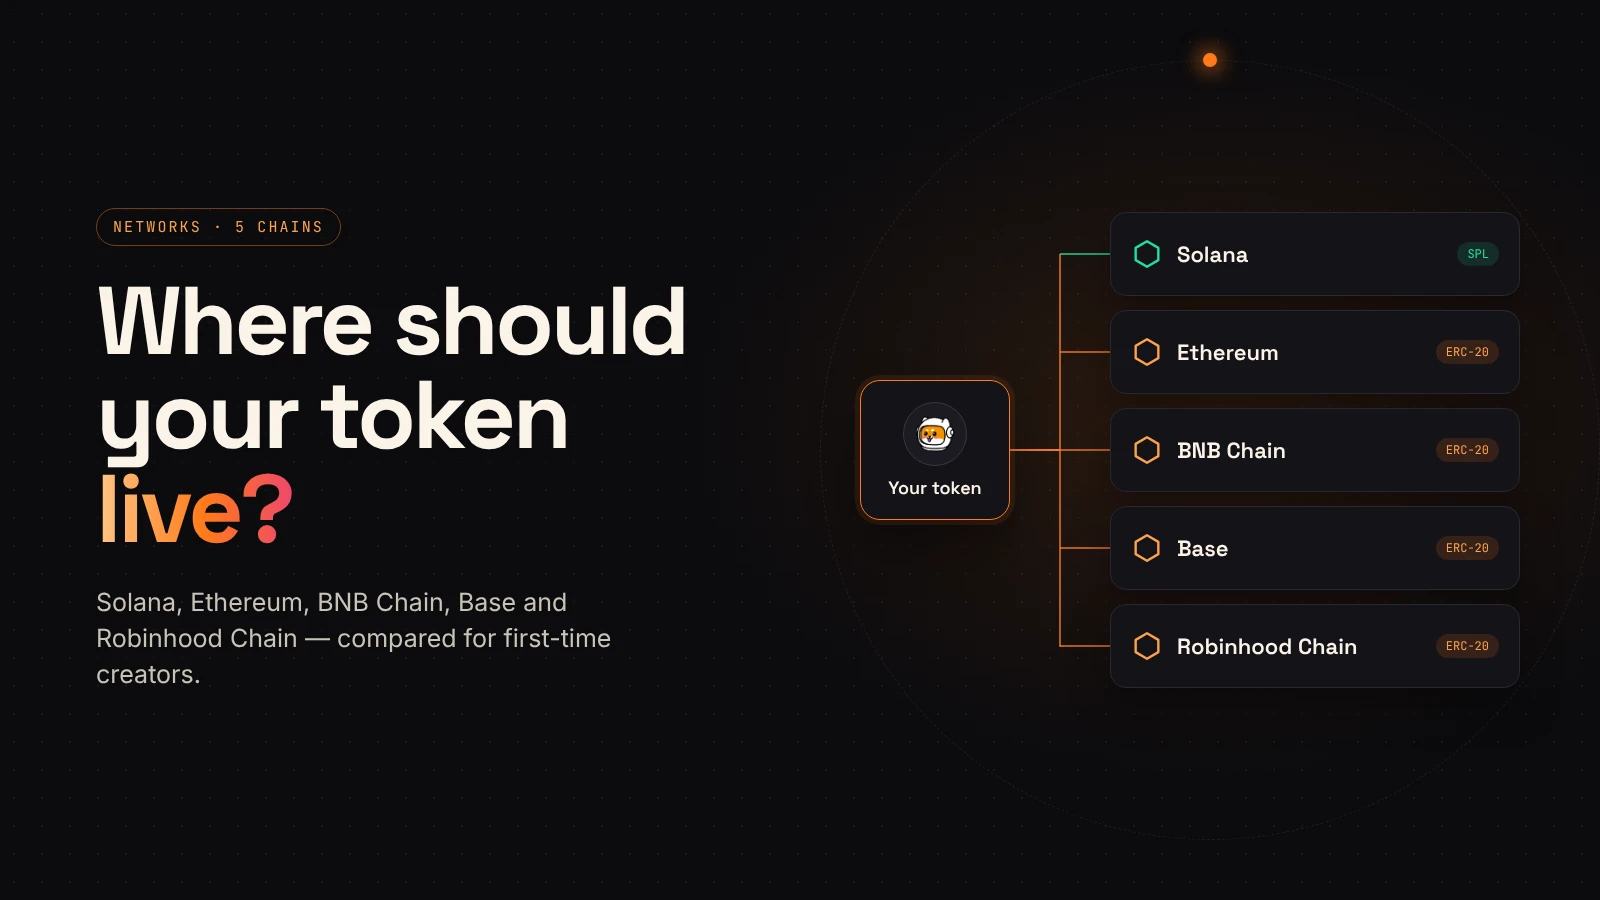
Choose the network explicitly and name it in your public materials. An address without a network creates avoidable confusion. Use the DegenKit network selector to open the intended creator, then confirm the connected wallet is on the expected chain.
Keep a place in the launch record for the contract or mint address. Fill it with the deployed address after confirmation, rather than treating a draft address or a screenshot as the final reference.
2. Define supply, precision and allocations
Separate three questions: how many tokens are initially created, how divisible each token is, and where the tokens will go. These are related, but they describe different things.
For EVM tokens, OpenZeppelin's ERC-20 documentation explains that decimals scale the displayed amount while contract arithmetic uses integers. A larger supply or a different decimal count does not by itself establish value.
If you describe an allocation, use a schedule you can support with actual addresses and arrangements. Distinguish tokens assigned to a treasury from tokens committed to a liquidity pool. A written allocation is not proof that assets are locked or that a vesting mechanism exists.
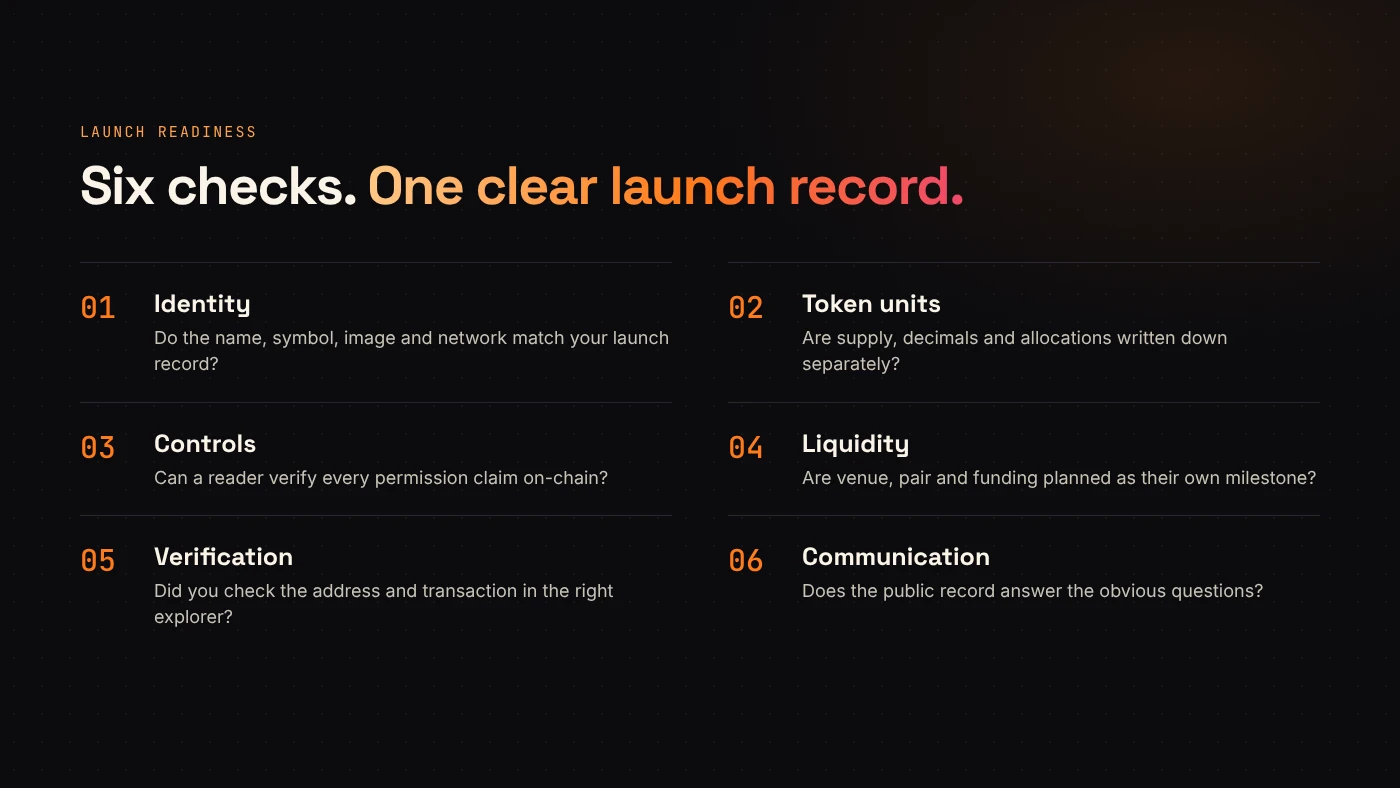
3. List the permissions people should understand
Write down what can still change after creation. Depending on the token, that may include minting, freezing, metadata updates, tax settings or other administrative roles. Check the specific implementation rather than borrowing claims from a different chain.
For Solana, the authority documentation explains that mint and freeze authorities are separate and that revocation to None permanently removes the selected role. For a tax token, review any remaining rate and fee-wallet controls as well.
Ask a plain question: Can a reader verify each permission claim from the token's on-chain state or contract? If the answer is unclear, narrow the claim until it matches the evidence.
4. Plan liquidity as its own milestone
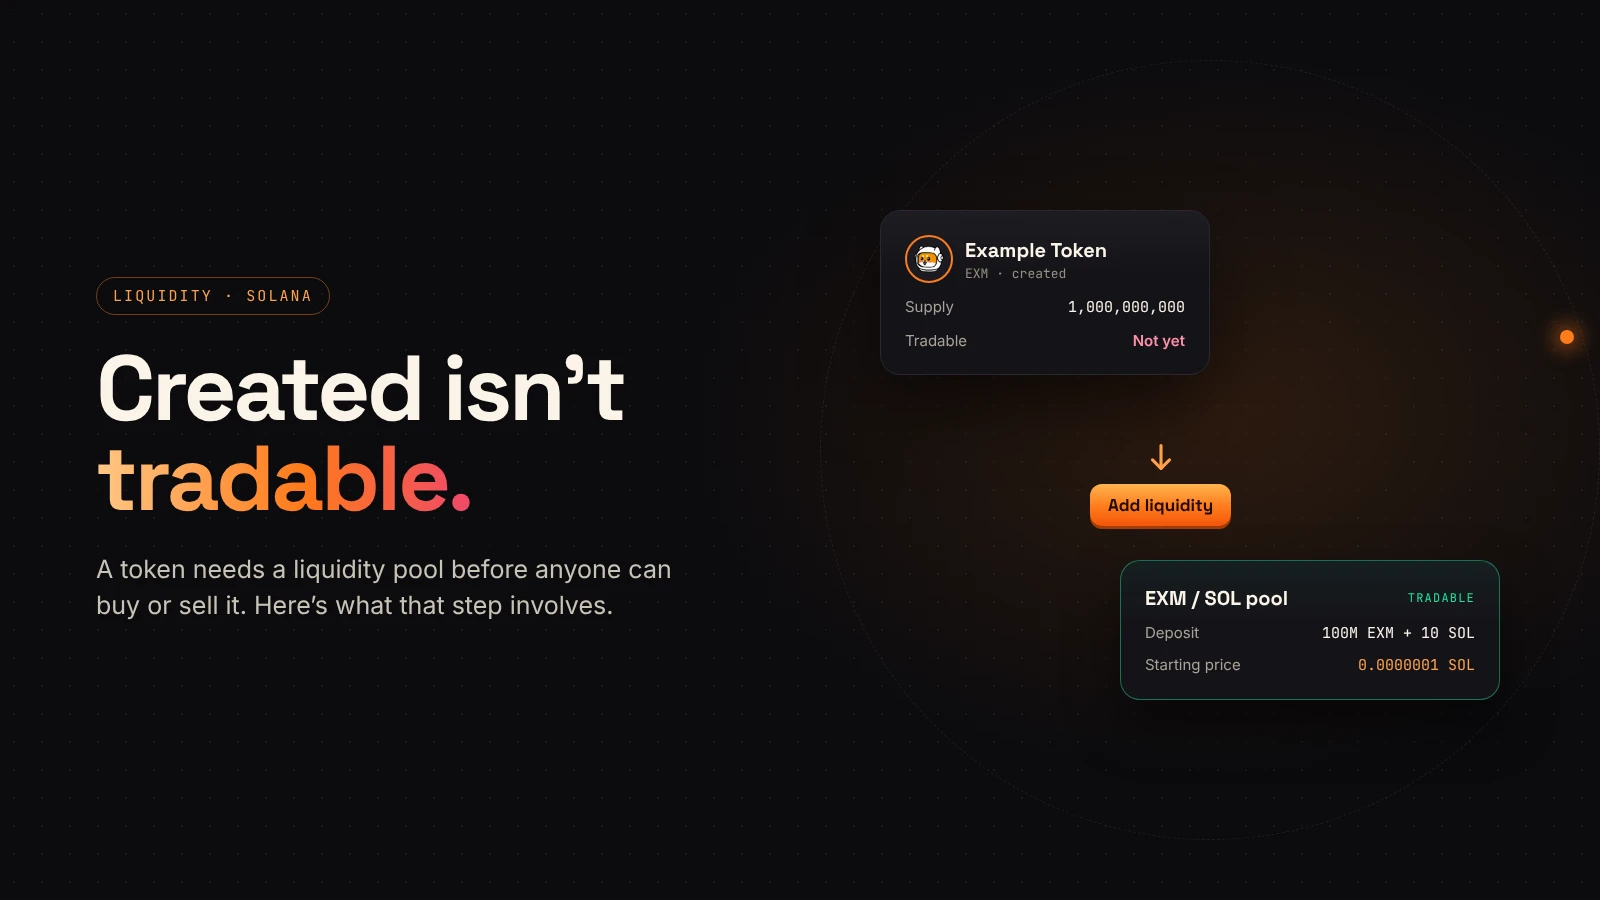
Token creation, liquidity provision and public trading are separate events. Decide which venue and token pair you intend to use, how the pool will be funded and how you will communicate the relevant pool address.
Check that the venue supports the token's actual behavior. A fee-on-transfer token needs additional compatibility review. For example, Uniswap's v3 documentation identifies fee-on-transfer tokens as incompatible with its standard routers.
If you intend to claim that liquidity is locked or burned, prepare the evidence for that specific action. A token's fixed supply or removed mint authority does not establish the status of liquidity positions.
5. Review the transaction, then verify the deployment
Before signing, compare the network, token details, supply, recipient and permissions with your launch record. Read the current fee display and your wallet's transaction details. Resolve a mismatch while the transaction is still unsigned.
After confirmation, capture the transaction hash or signature and the contract or mint address. Open the correct explorer and verify the details relevant to your token. Keep creation evidence and any later liquidity or permission transactions together.
6. Publish a useful launch record
A short public summary should answer the questions people otherwise have to ask repeatedly:
- Which network and full contract or mint address identify the token?
- What are the initial supply, decimals and allocation plan?
- Which administrative permissions remain?
- Does a buy or sell tax apply, and who can change it?
- Is a trading pool available, and what evidence supports any liquidity claims?
- Where are the official project links and updates?
Use clear labels for completed work and future plans. If an allocation, pool or permission changes, update the record and link to the relevant transaction where appropriate.
Wrap up
The checklist is complete when the token's settings, on-chain evidence and public description agree. Prepare those details first, then use the launcher for the transaction itself. Choose your network and start with DegenKit.